


How to Set Up Your Ice Bath Chiller: Essential Tips and Tricks
An ice bath chiller can significantly enhance your cold plunge experience by maintaining the ideal water temperature. At Tundra Tribe, we understand the importance of proper setup to ensure you get the most out of your investment. This guide will walk you through the essential steps and tips for setting up your ice bath chiller effectively.
Understanding Ice Bath Chillers
Ice bath chillers typically consist of a mainframe or body that does the chilling and two hoses for water circulation. The effectiveness of a chiller is largely determined by its horsepower (HP):
- MEGATUB: Requires at least 2/3 HP, with 1 HP being ideal for optimal performance.
- Tundra Tub XL Cold Plunge Pod: A smaller tub that only requires about 1/2 HP to maintain the desired temperature.
Choosing the Right Chiller
When selecting a chiller, consider both affordable options and high-end models:
1. Amazon Chillers
- Pros: Affordable and easily accessible with a decent return policy. Look for models with at least 3.5-star reviews.
- Cons: Some models may have average durability and reliability.
- Recommendation: Search for "ice bath chiller system" on Amazon and choose models with good reviews and fulfillment by Amazon for easy returns.
2. High-End Chillers
- Pros: Reliable and often come with specialized features.
- Cons: More expensive and may require purchasing specific large tubs.
Setting Up Your Chiller
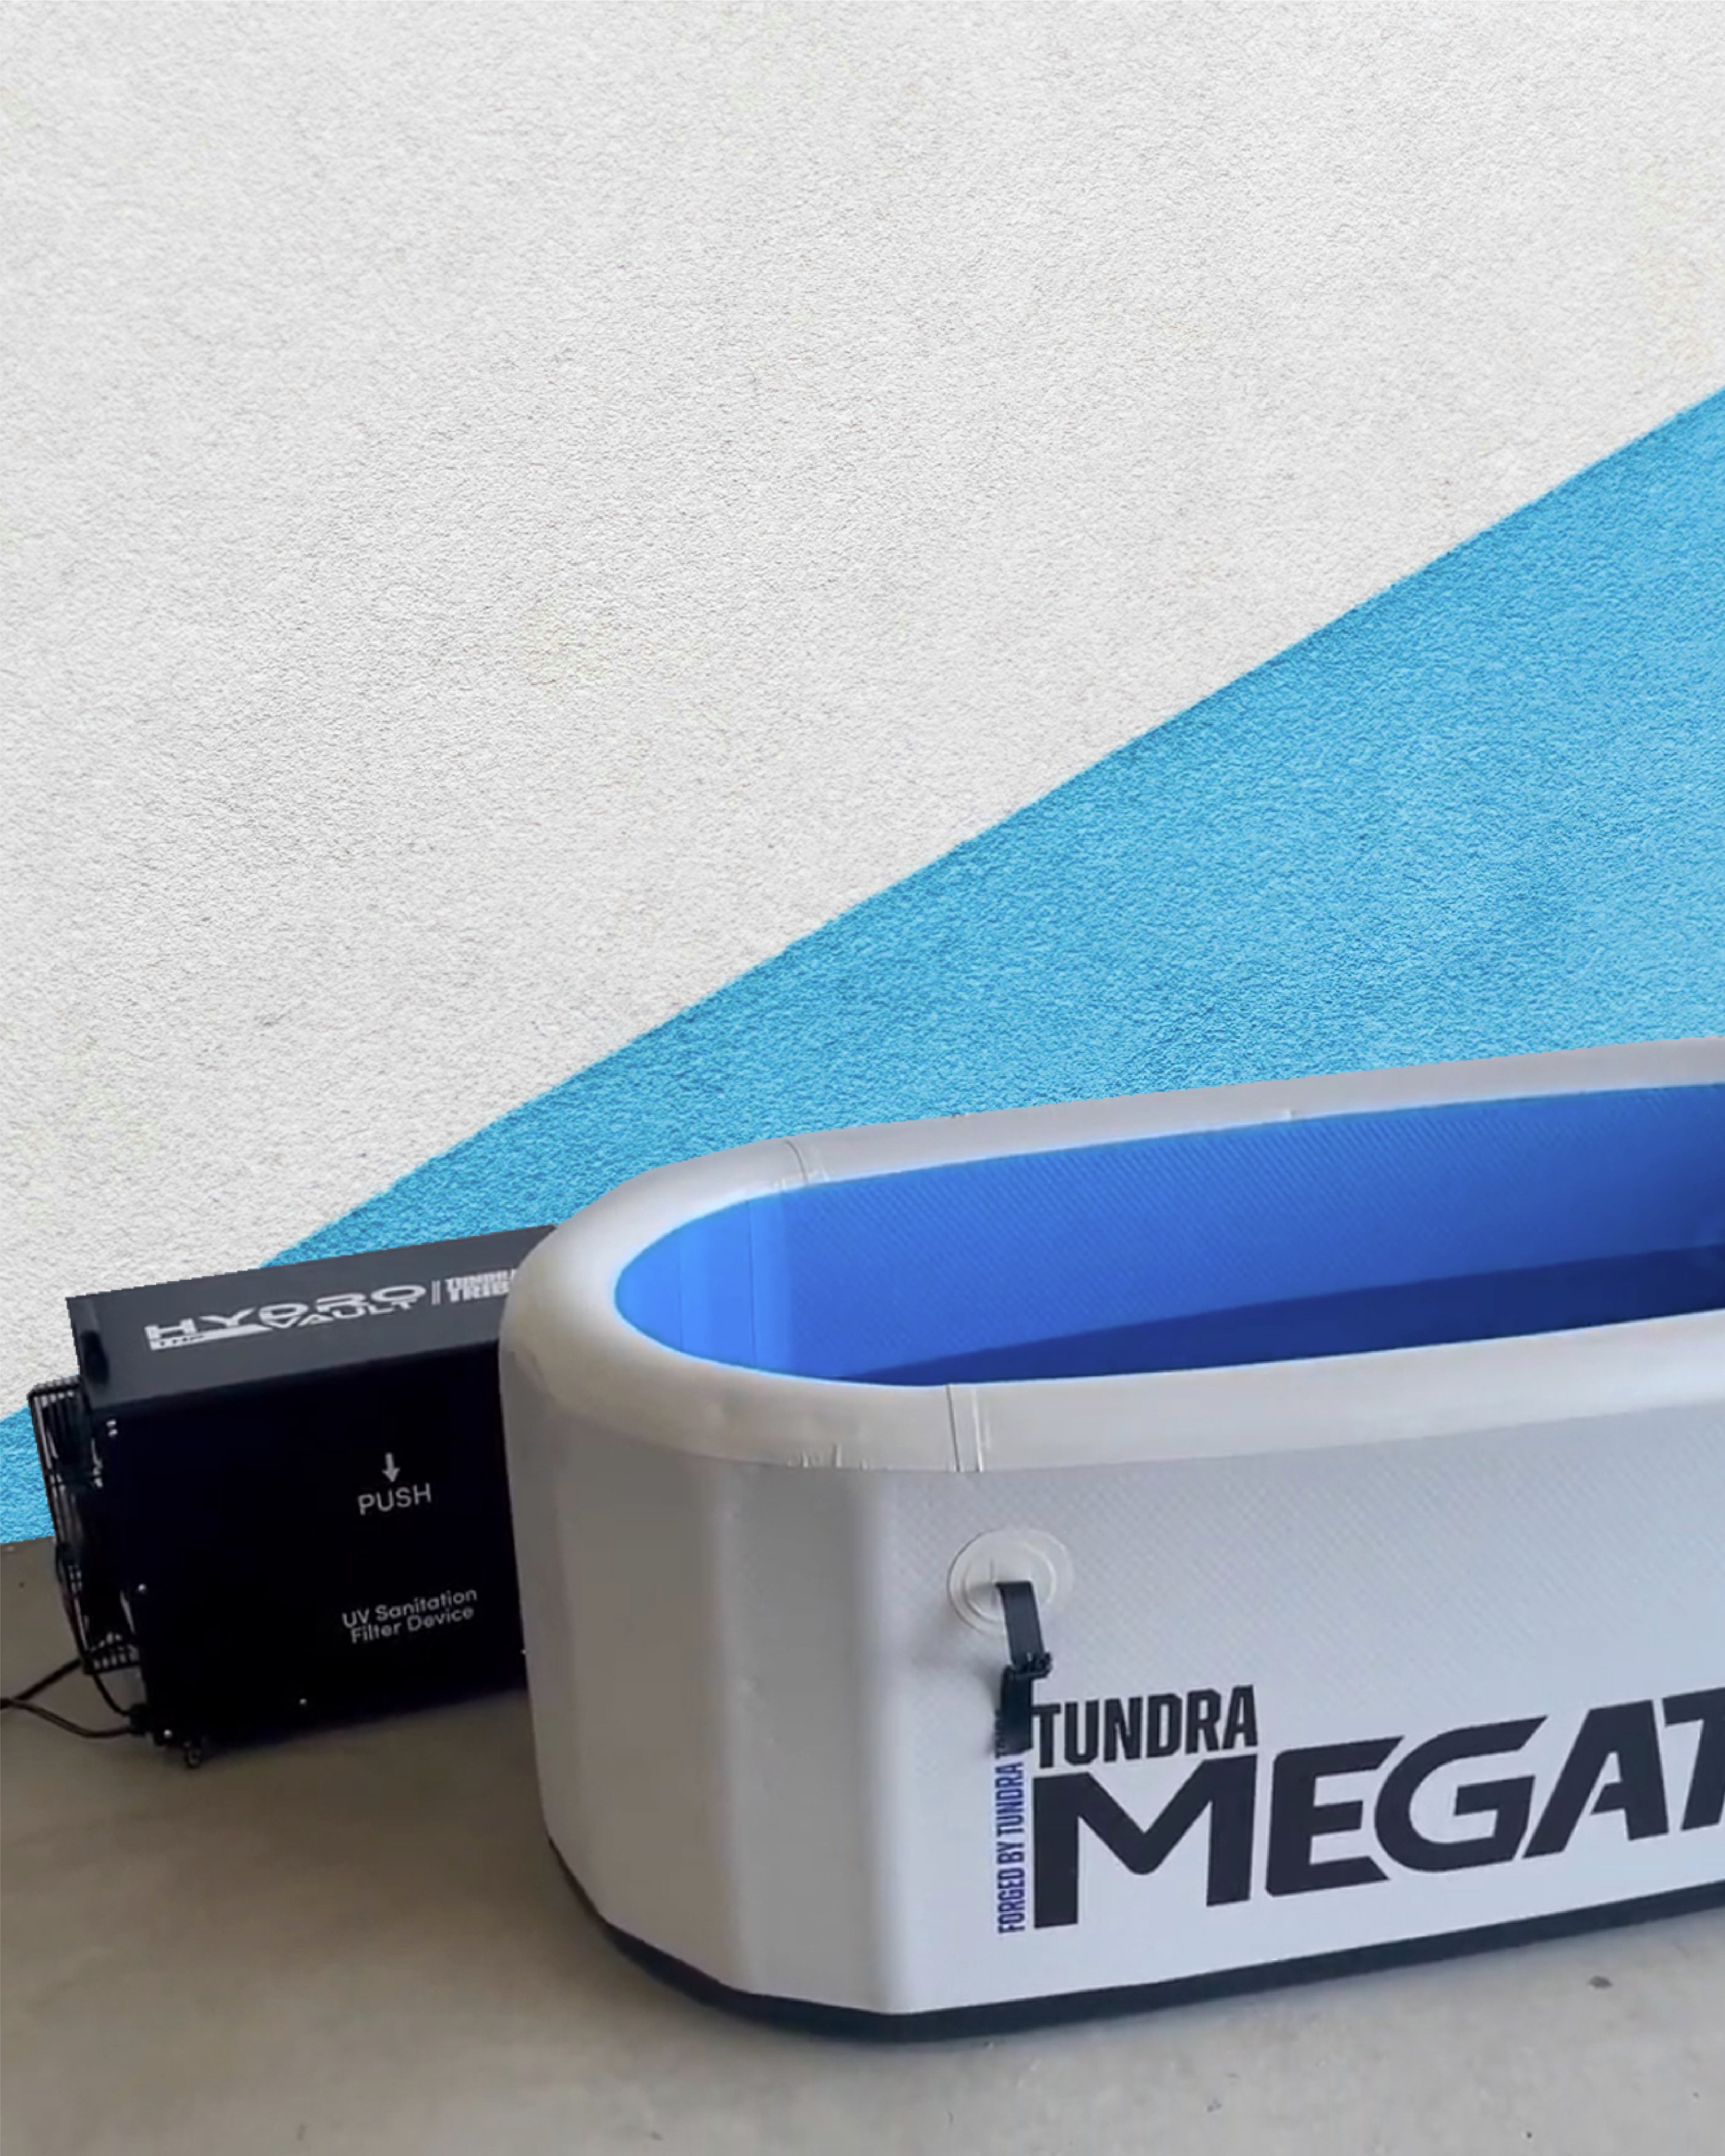
1. Location and Equipment
- Location: Choose a stable, flat surface near a power outlet and a water source.
- Components: Ensure you have all necessary parts, including hoses and any adapters.
2. Connecting the Chiller
- Drain Valve: Use the Tundra Tub’s 7/8" female connector (1/2" ball valve inner) for one hose.
- Return Hose: Loop the second hose over the top of the tub to return chilled water back into the tub.
3. Initial Setup
- Filling the Tub: Use a garden hose to fill your tub and add ice to reach the desired temperature.
- Power On: Connect the chiller to a power source and ensure it is functioning properly.
Maintenance and Troubleshooting
1. Regular Checks
- Inspect Hoses: Regularly check hoses and connections for any signs of wear and tear.
- Clean Filters: Clean or replace filters as needed to ensure optimal performance.
2. Water Maintenance
- Add Salt: Adding about 1 pound of salt can help keep the water clean and prevent bacterial growth.
- Change Water: Depending on usage, change the water every 2-4 weeks.
3. DIY Tips
- Adapters: Most chillers come with adapter pieces, but you can easily rig an adapter if needed. Consider looking up DIY videos on YouTube for additional guidance.
Conclusion
Setting up your ice bath chiller correctly ensures you get the most out of your cold plunge experience. Whether you choose an affordable Amazon model or a high-end chiller, following these setup tips will help you maintain the perfect water temperature. For more information and to explore our range of products, visit Tundra Tribe.
Read more
Investing in an ice bath chiller can significantly enhance your cold plunge experience by maintaining optimal water temperatures. At Tundra Tribe, we understand the importance of selecting the righ...

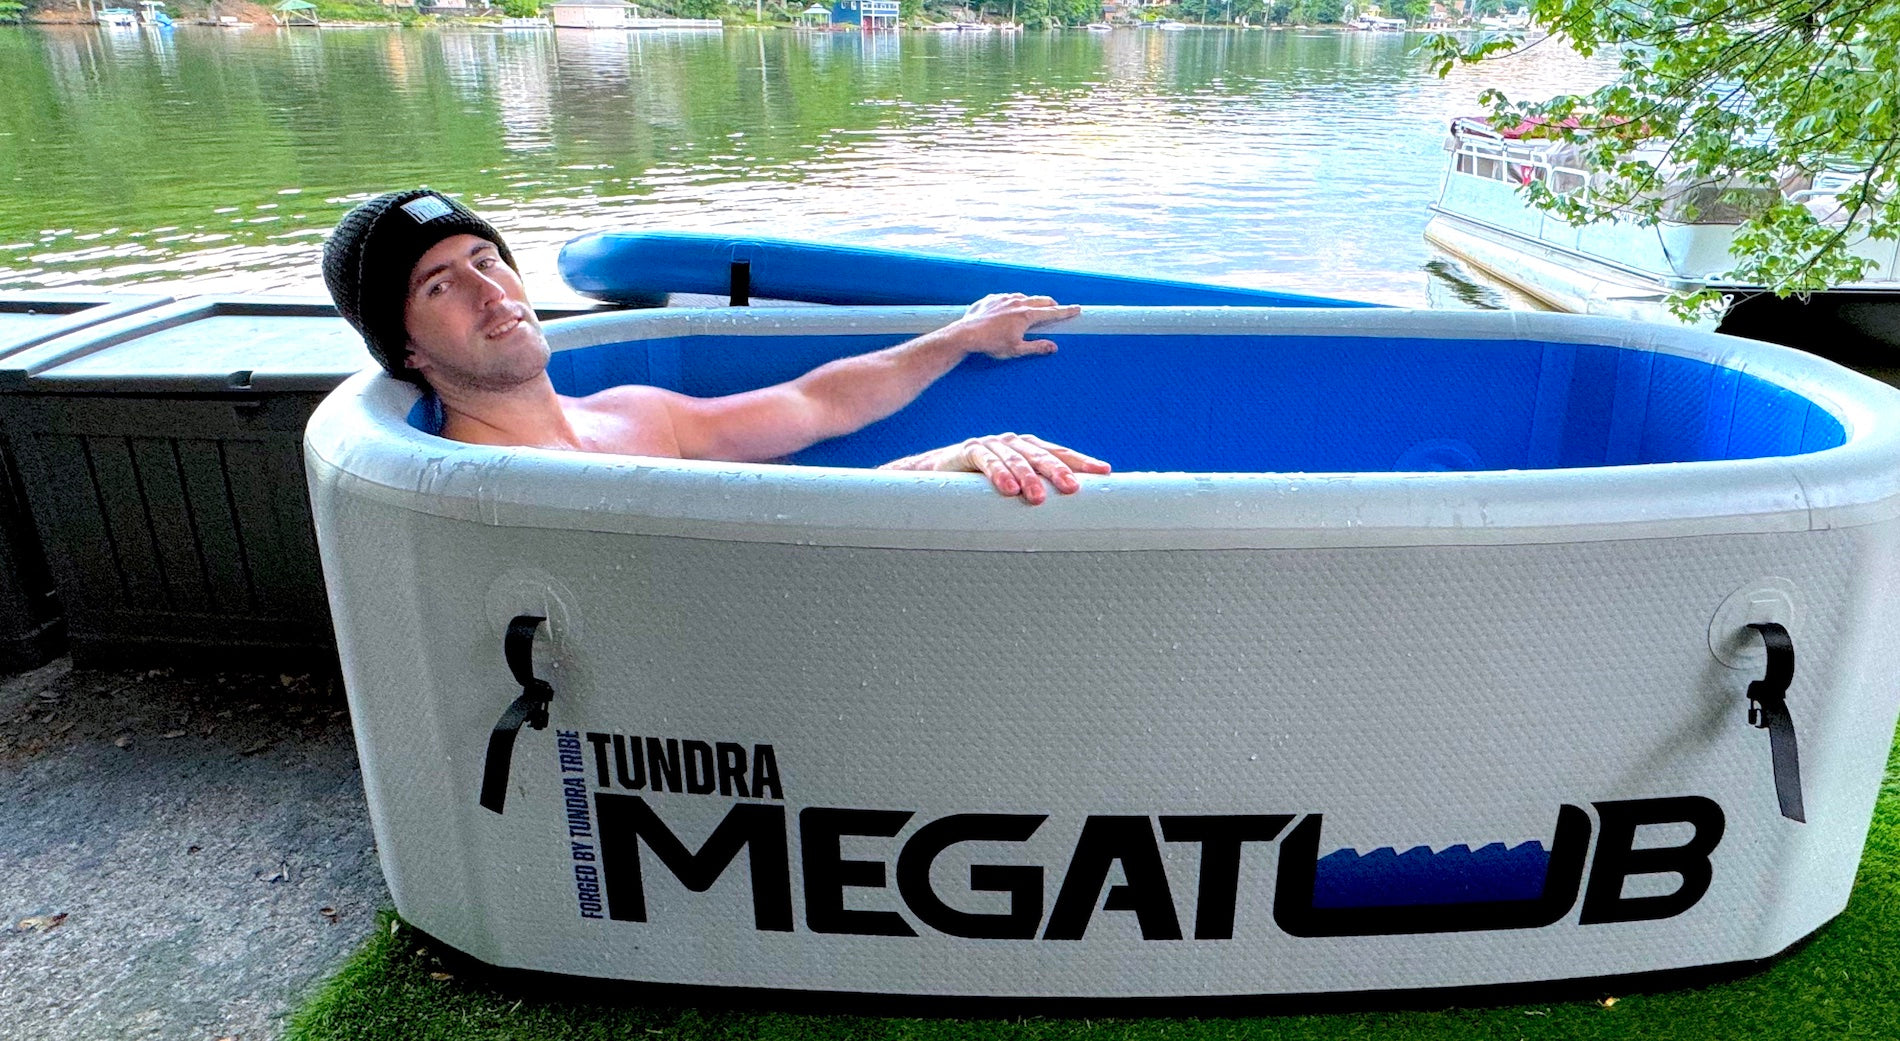
The Tundra Megatub™ is designed for those who seek a superior cold plunge experience. With its impressive size and durable construction, the Megatub offers unmatched benefits for physical recovery ...